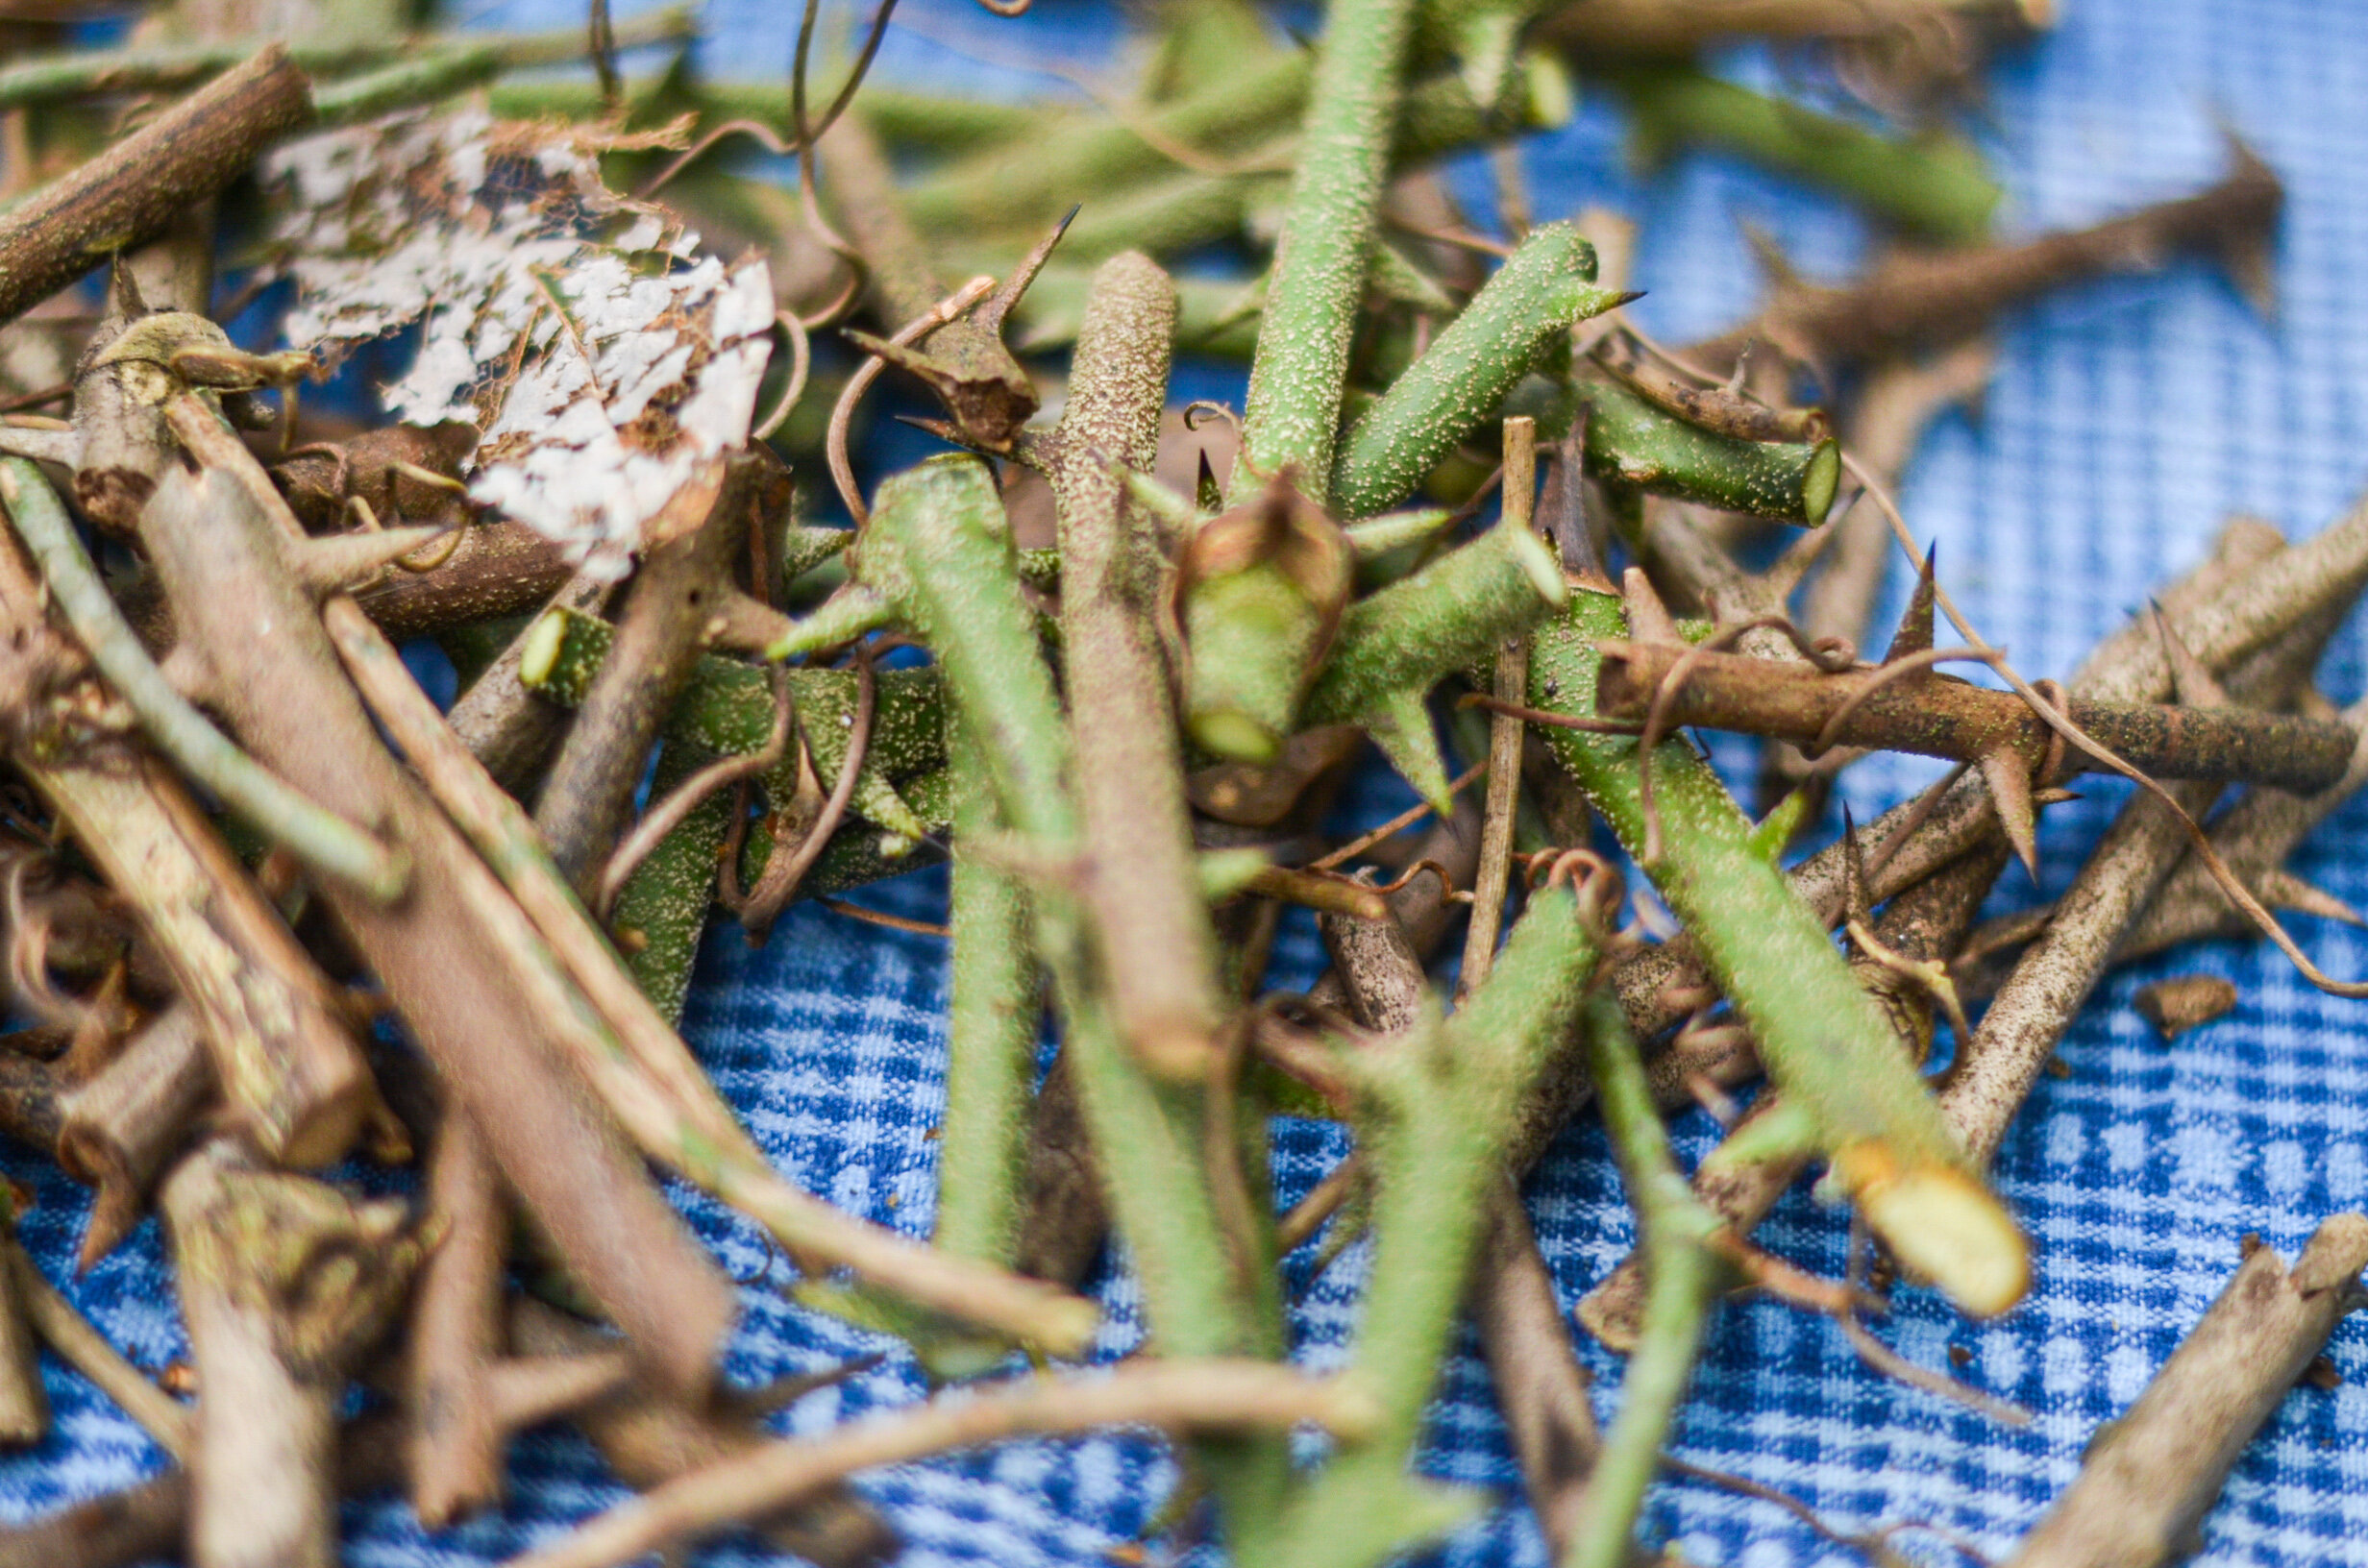
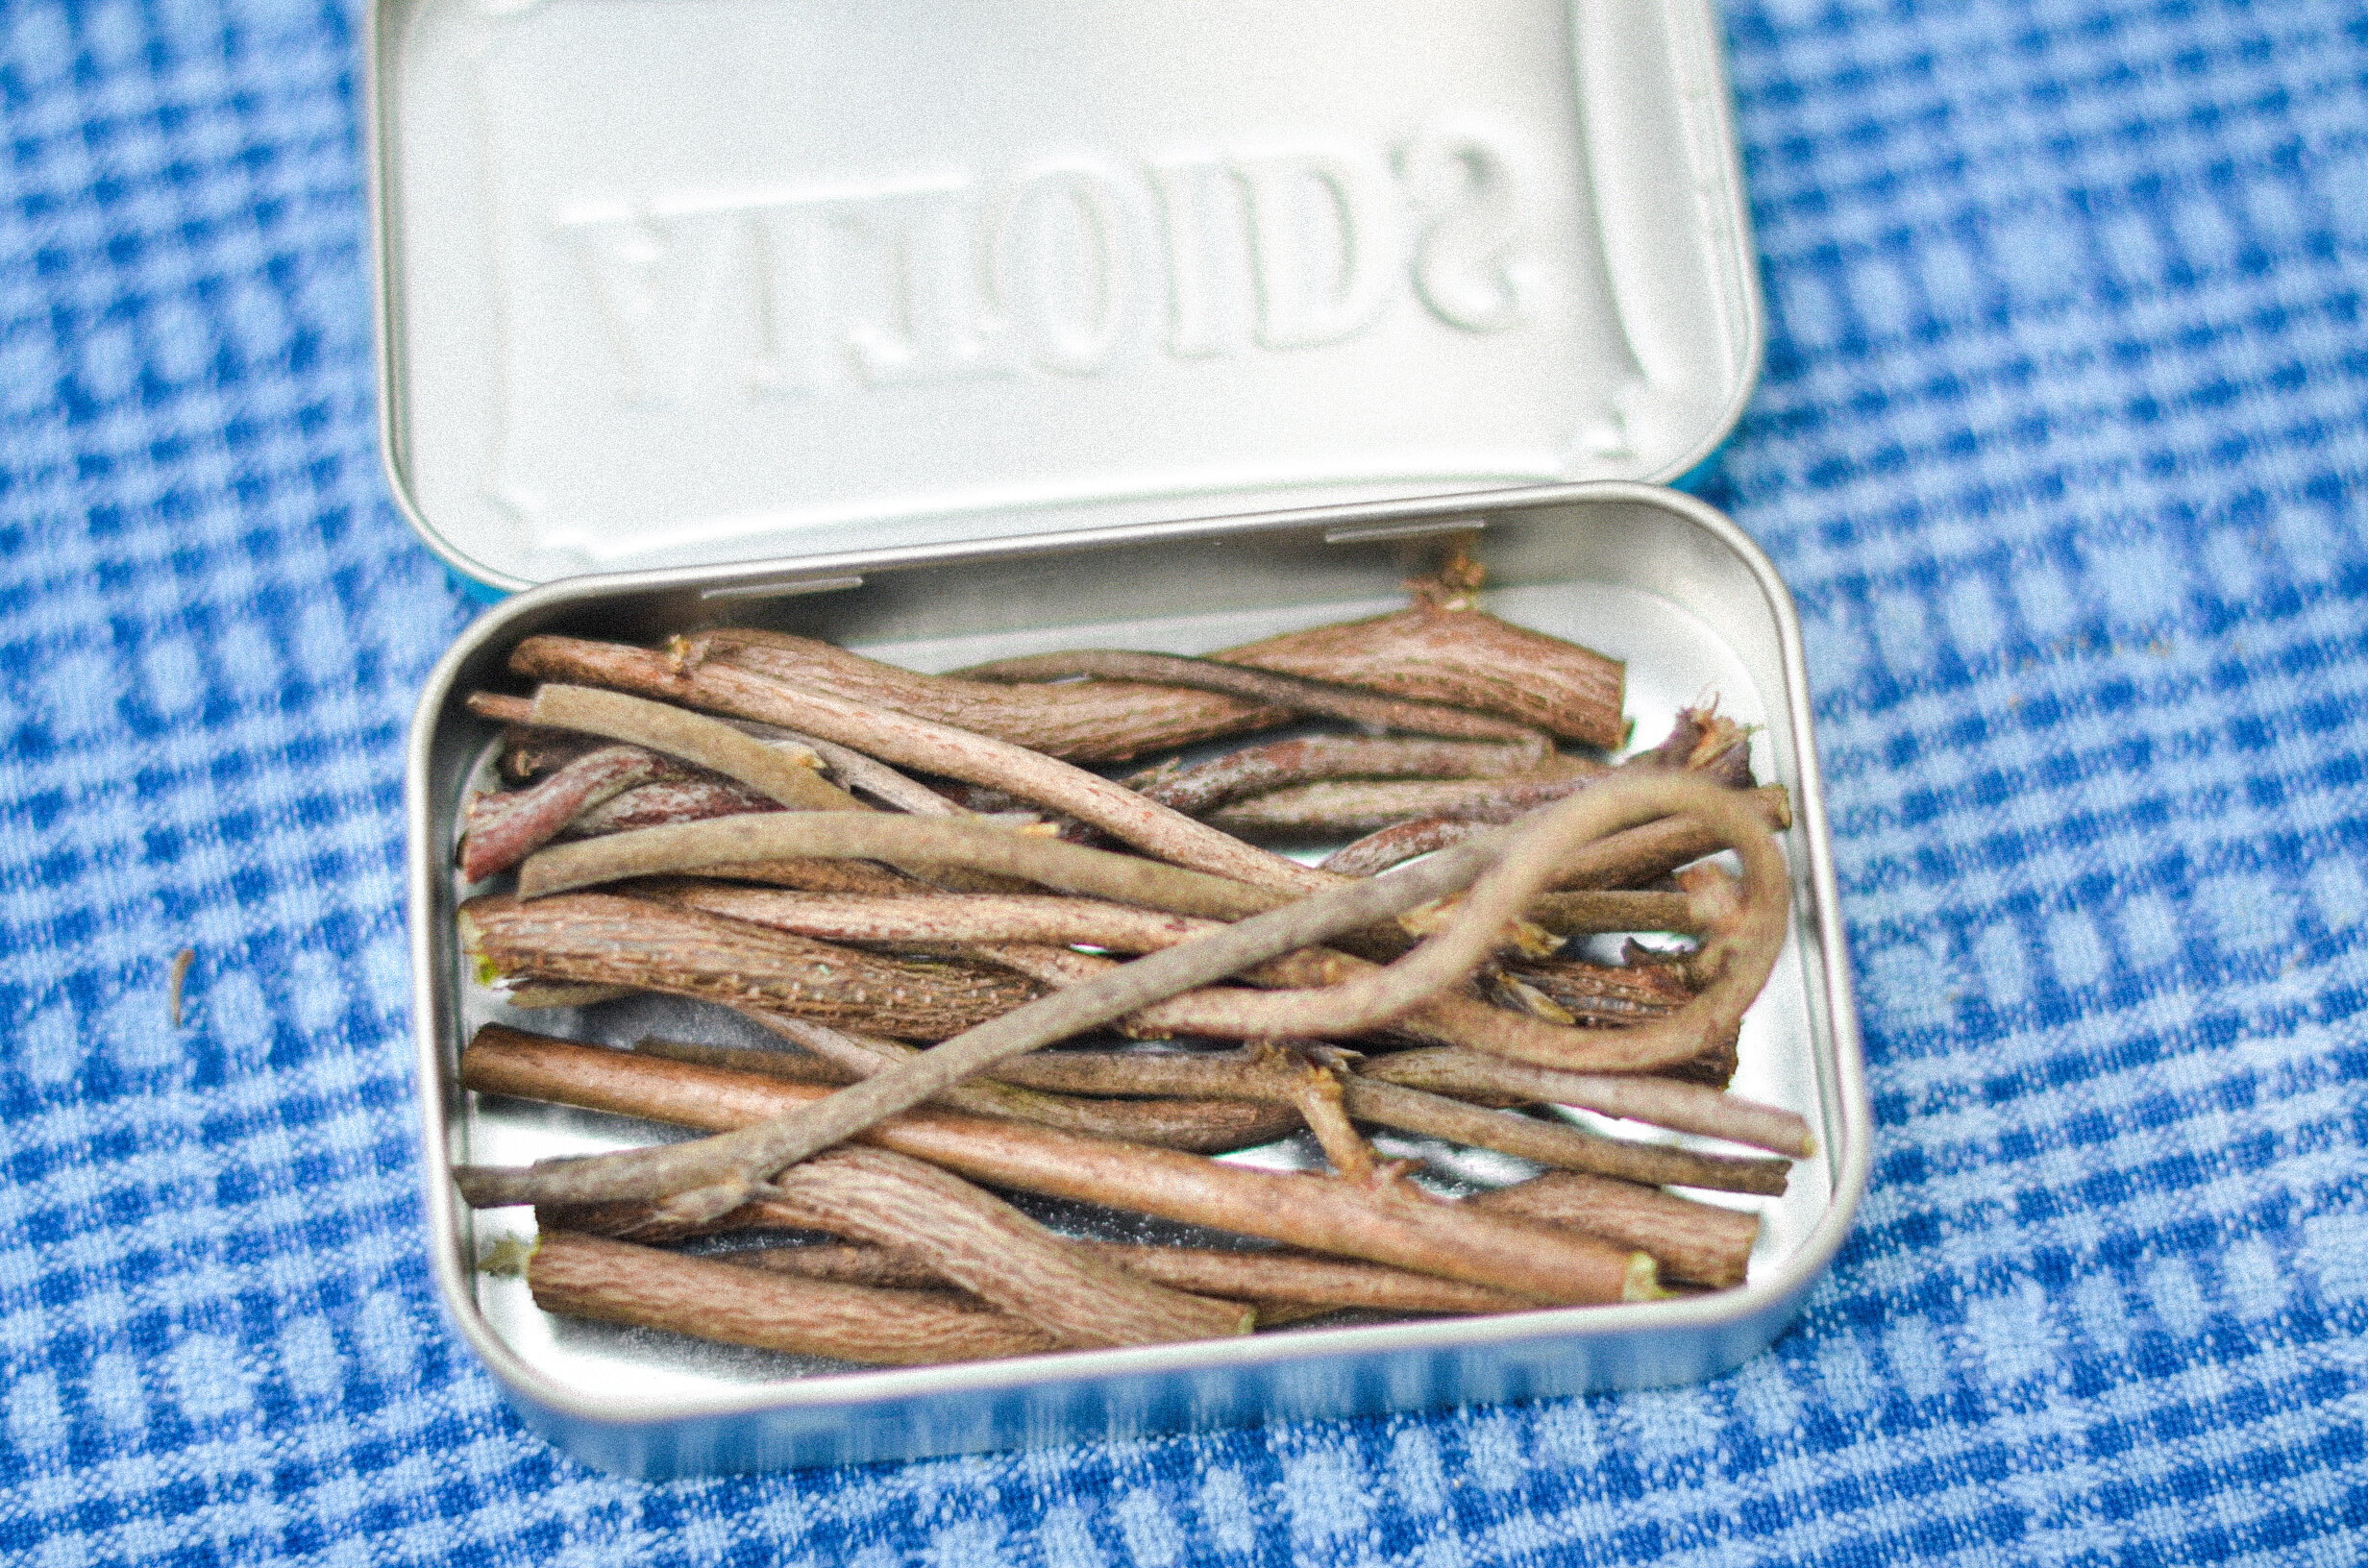
Come late summer and early fall, we nearly constantly have a fire going outside. I use it for making dyes, we use it to keep warm and social, and I use it to make vine charcoal! Making vine charcoal is easy to do with a little practice and a few basic tools. I’ll outline the basic procedure I use for charcoal making below, but check out more specific recipes ifyou’re interested.
When first experimenting with vine charcoal, we cut a variety of twigs and vines for trial runs—wisteria, magnolia, azalea—and found that all came out to be beautiful charcoal objects, but only certain types worked best for smudging and drawing. Experiment!
I then cut the vines to the size of my container. I typically use an altoids container for this, as it gets the best airflow. A tin can with a tinfoil top with holes poked through it works as well. Cram the container full of twigs. Your twigs will shrink considerably in the process.
Bury your tin in the embers of a firepit and keep them covered there for about an hour. Carefully remove the tin and allow to cool.
Once your containers have cooled, carefully remove your new charcoal vines. If you notice they aren’t quite done, just put them back in the fire.
And it’s that easy to make your own charcoal!


