So, this year I’ve decided to start a dye garden, for quite a lot of reasons. First, I just really want to be a better dyer. I feel like I have a fairly solid handle on Indigo, and a grasp on several others, but nowhere close to the level of consistency and sustainability that I really strive for. Having to order dyestuffs from other companies can be an expensive experiment when you want to dye on the scale that I do. I also want my sourcing footprint to be as small as possible. I’ve applied for several community grants, and my goal with some of the programs I’m proposing is to source all of my dye materials within 50 miles. Above all, though, I just wanted the satisfaction of successfully growing my own rainbow of color. Seasons down the road, I’ll likely eventually sell a small amount of seeds, but only with the intention of paying for the dye garden itself, and not on any remotely large scale.
To a lot of friends who are involved in agriculture or who have grown dyestuffs before, I’m being sort of hilariously thorough and over the top in my documentation. I had some very, very basic questions about some very, very basic components of germination and garden planning, and I would have been overwhelmed without the generosity of friends, and some wonderful online content from people like Liz Spencer of The Dogwood Dyer, Britt at Sea Spell Fiber and Ecotone Threads. The main reason why I’m sharing these detailed notes and my process is to help someone who might start their dye garden next year, or even in just a few weeks.
My plan for year one was to cast a wide net, and grow small amounts of a lot of different varieties. I plan to experiment to find out what is most efficient to grow, what dye colors/processes I connect most with, what can have the longest growing season in this county, and what I just purely like the most, and I’ll grow more of those varieties next year.
Here are the seeds I’ve purchased for this year. I recommend ordering from any and all of these vendors! Click each name to visit their website.
Seeds purchased:
Japanese Indigo - Persicaria tinctoria - 600 seeds
Double Black Hollyhock - Alcea rosea - 75 seeds
Tceqa' Qu' Si (Hopi Black Dye Sunflower) - Helianthus annuus - 50 seeds
Madder - Rubia tinctorum - 30 seeds
Dyer’s Coreopsis - Coreopsis tinctoria - 200 seeds
Japenese Indigo - Persicaria tinctoria - 5 grams
Pincushion - Scabiosa atropurpurea - 75 seeds
Dyer’s Coreopsis - Coreopsis tinctoria - 150 seeds
Calendula - Calendula officinalis - 100 seeds
Bachelor’s Buttons - Centaurea cyanus - 150 seeds
French Marigolds - Tagetes patula - 50+ seeds
Dyer’s Coreopsis - Coreopsis tinctoria - 50+
Most of the above varieties are able to be directly sown where I live, in Zone 8, because our threat of last frost is very early, and our growing season is very long. However, I did want to give the Madder and Japanese Indigo seeds a head start by germinating them indoors. I’ll be directly sowing a lot of these at the beginning of April.
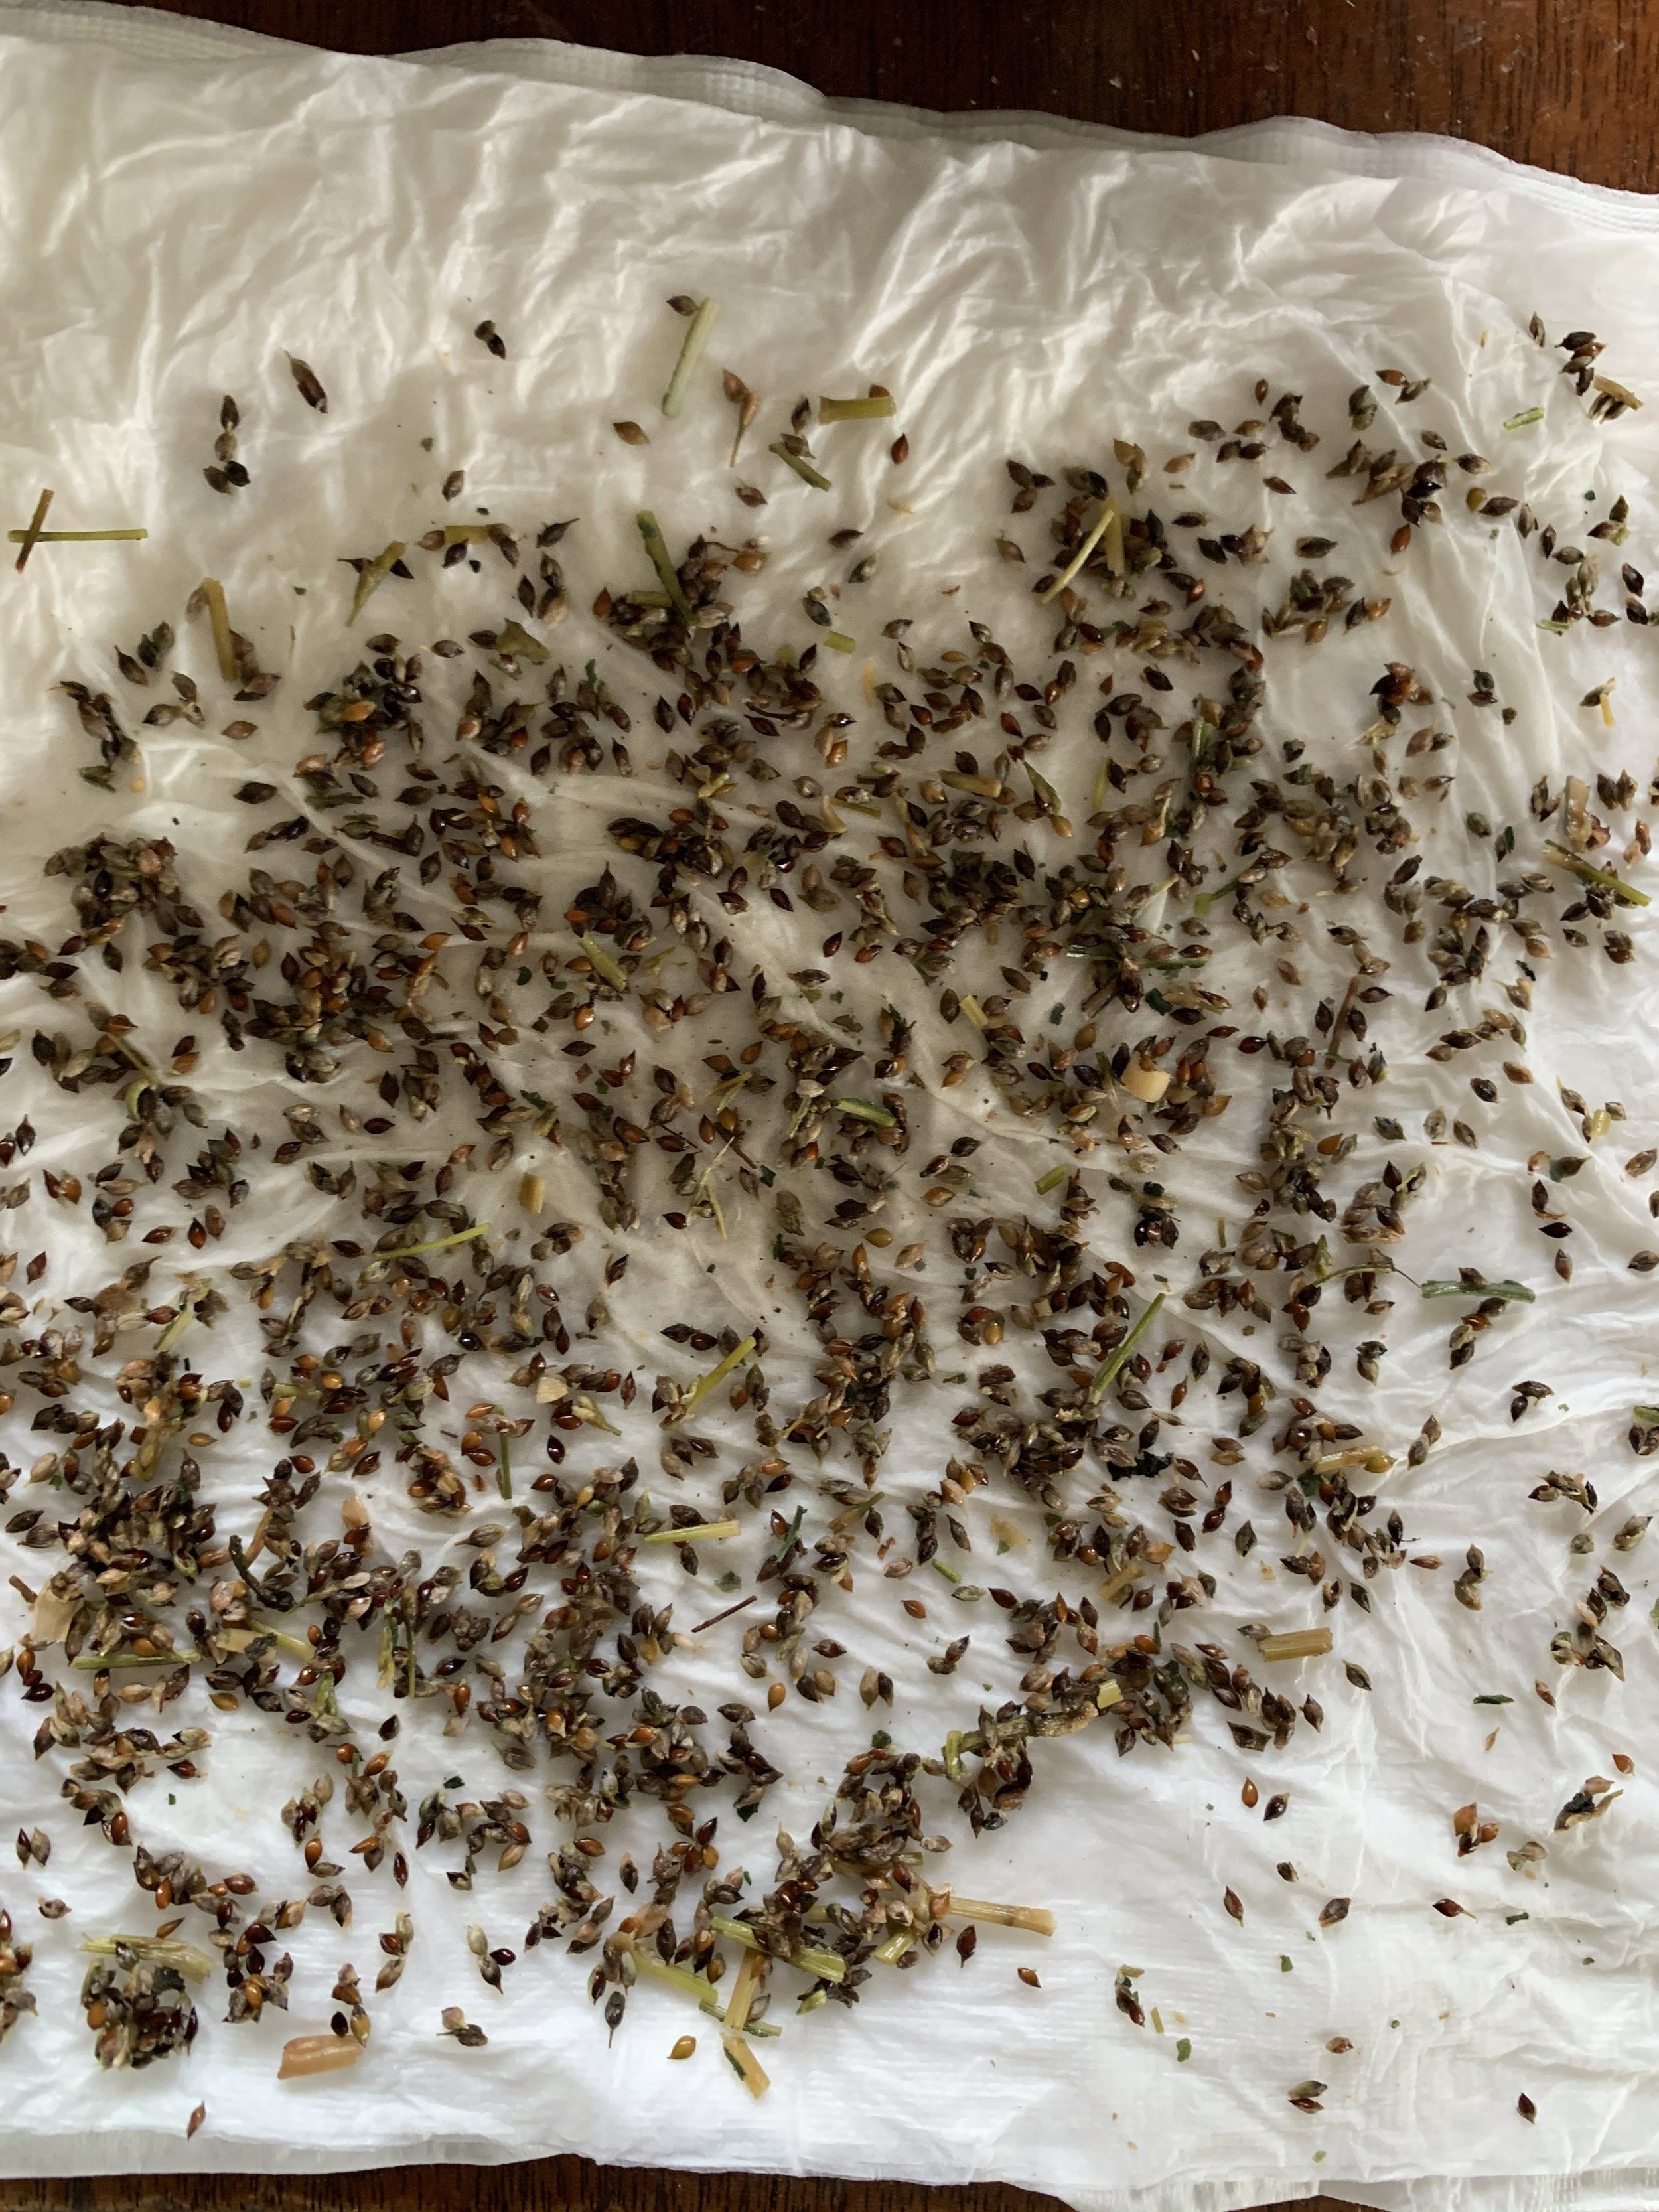
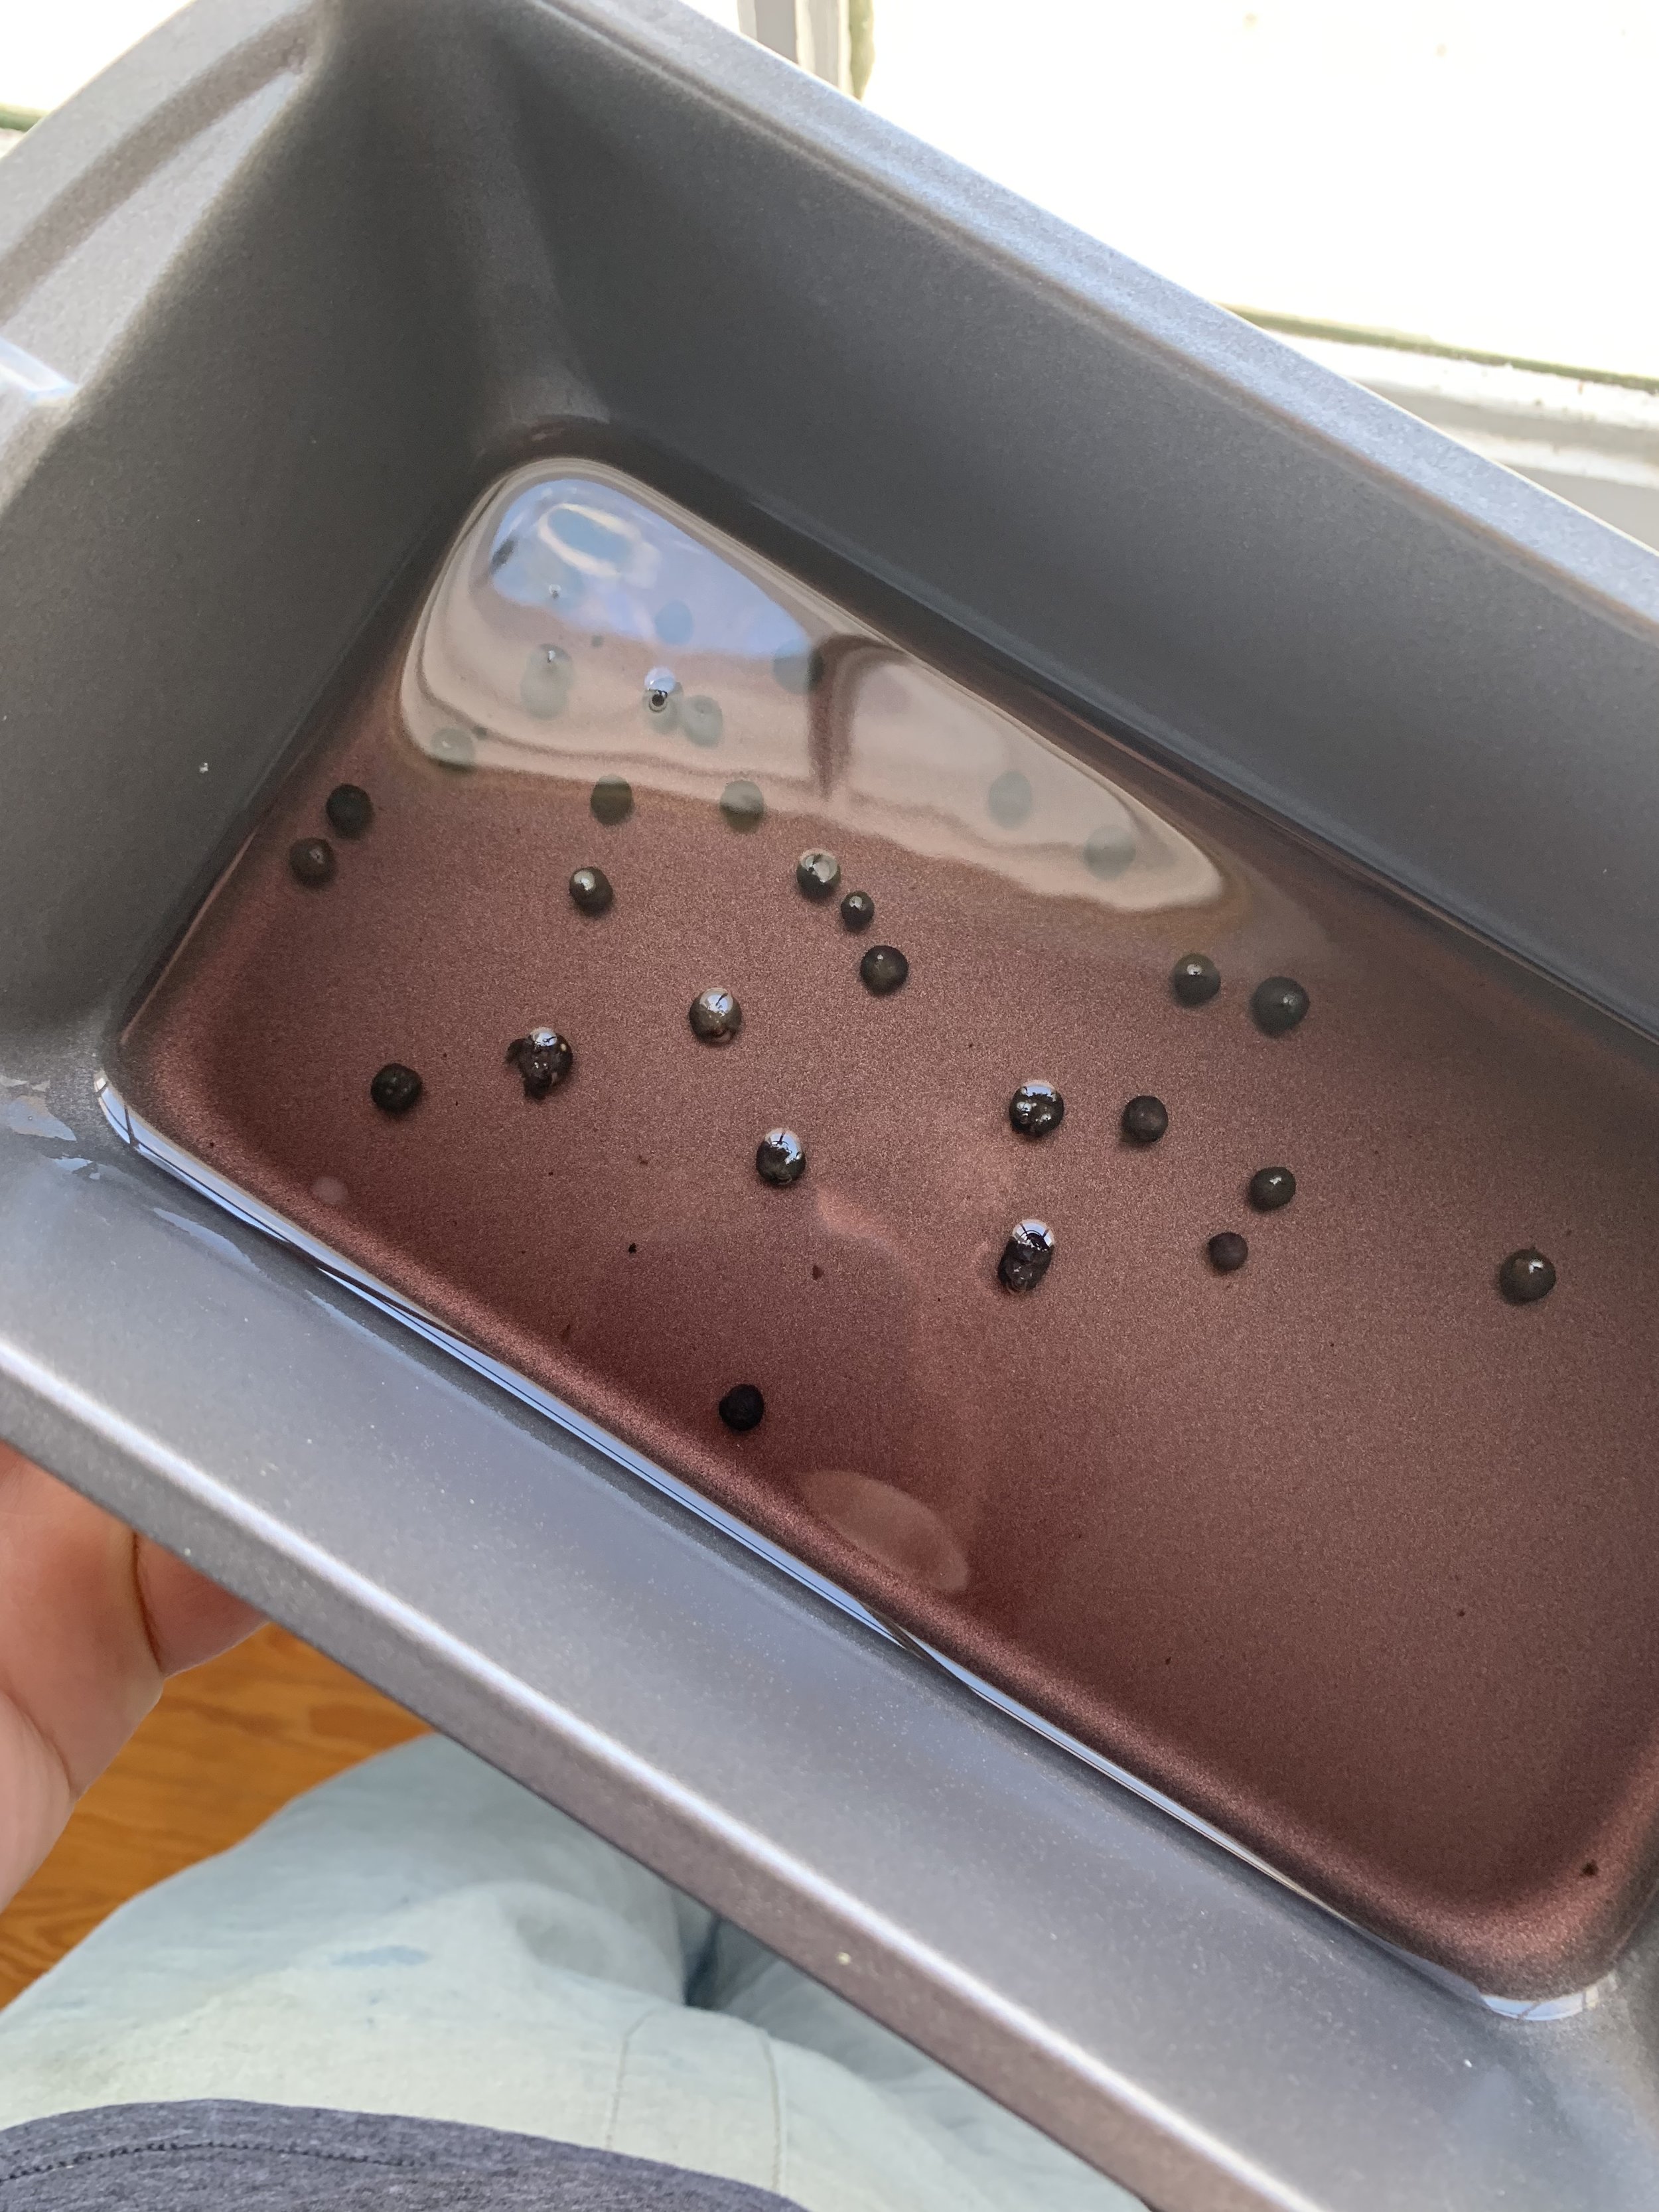
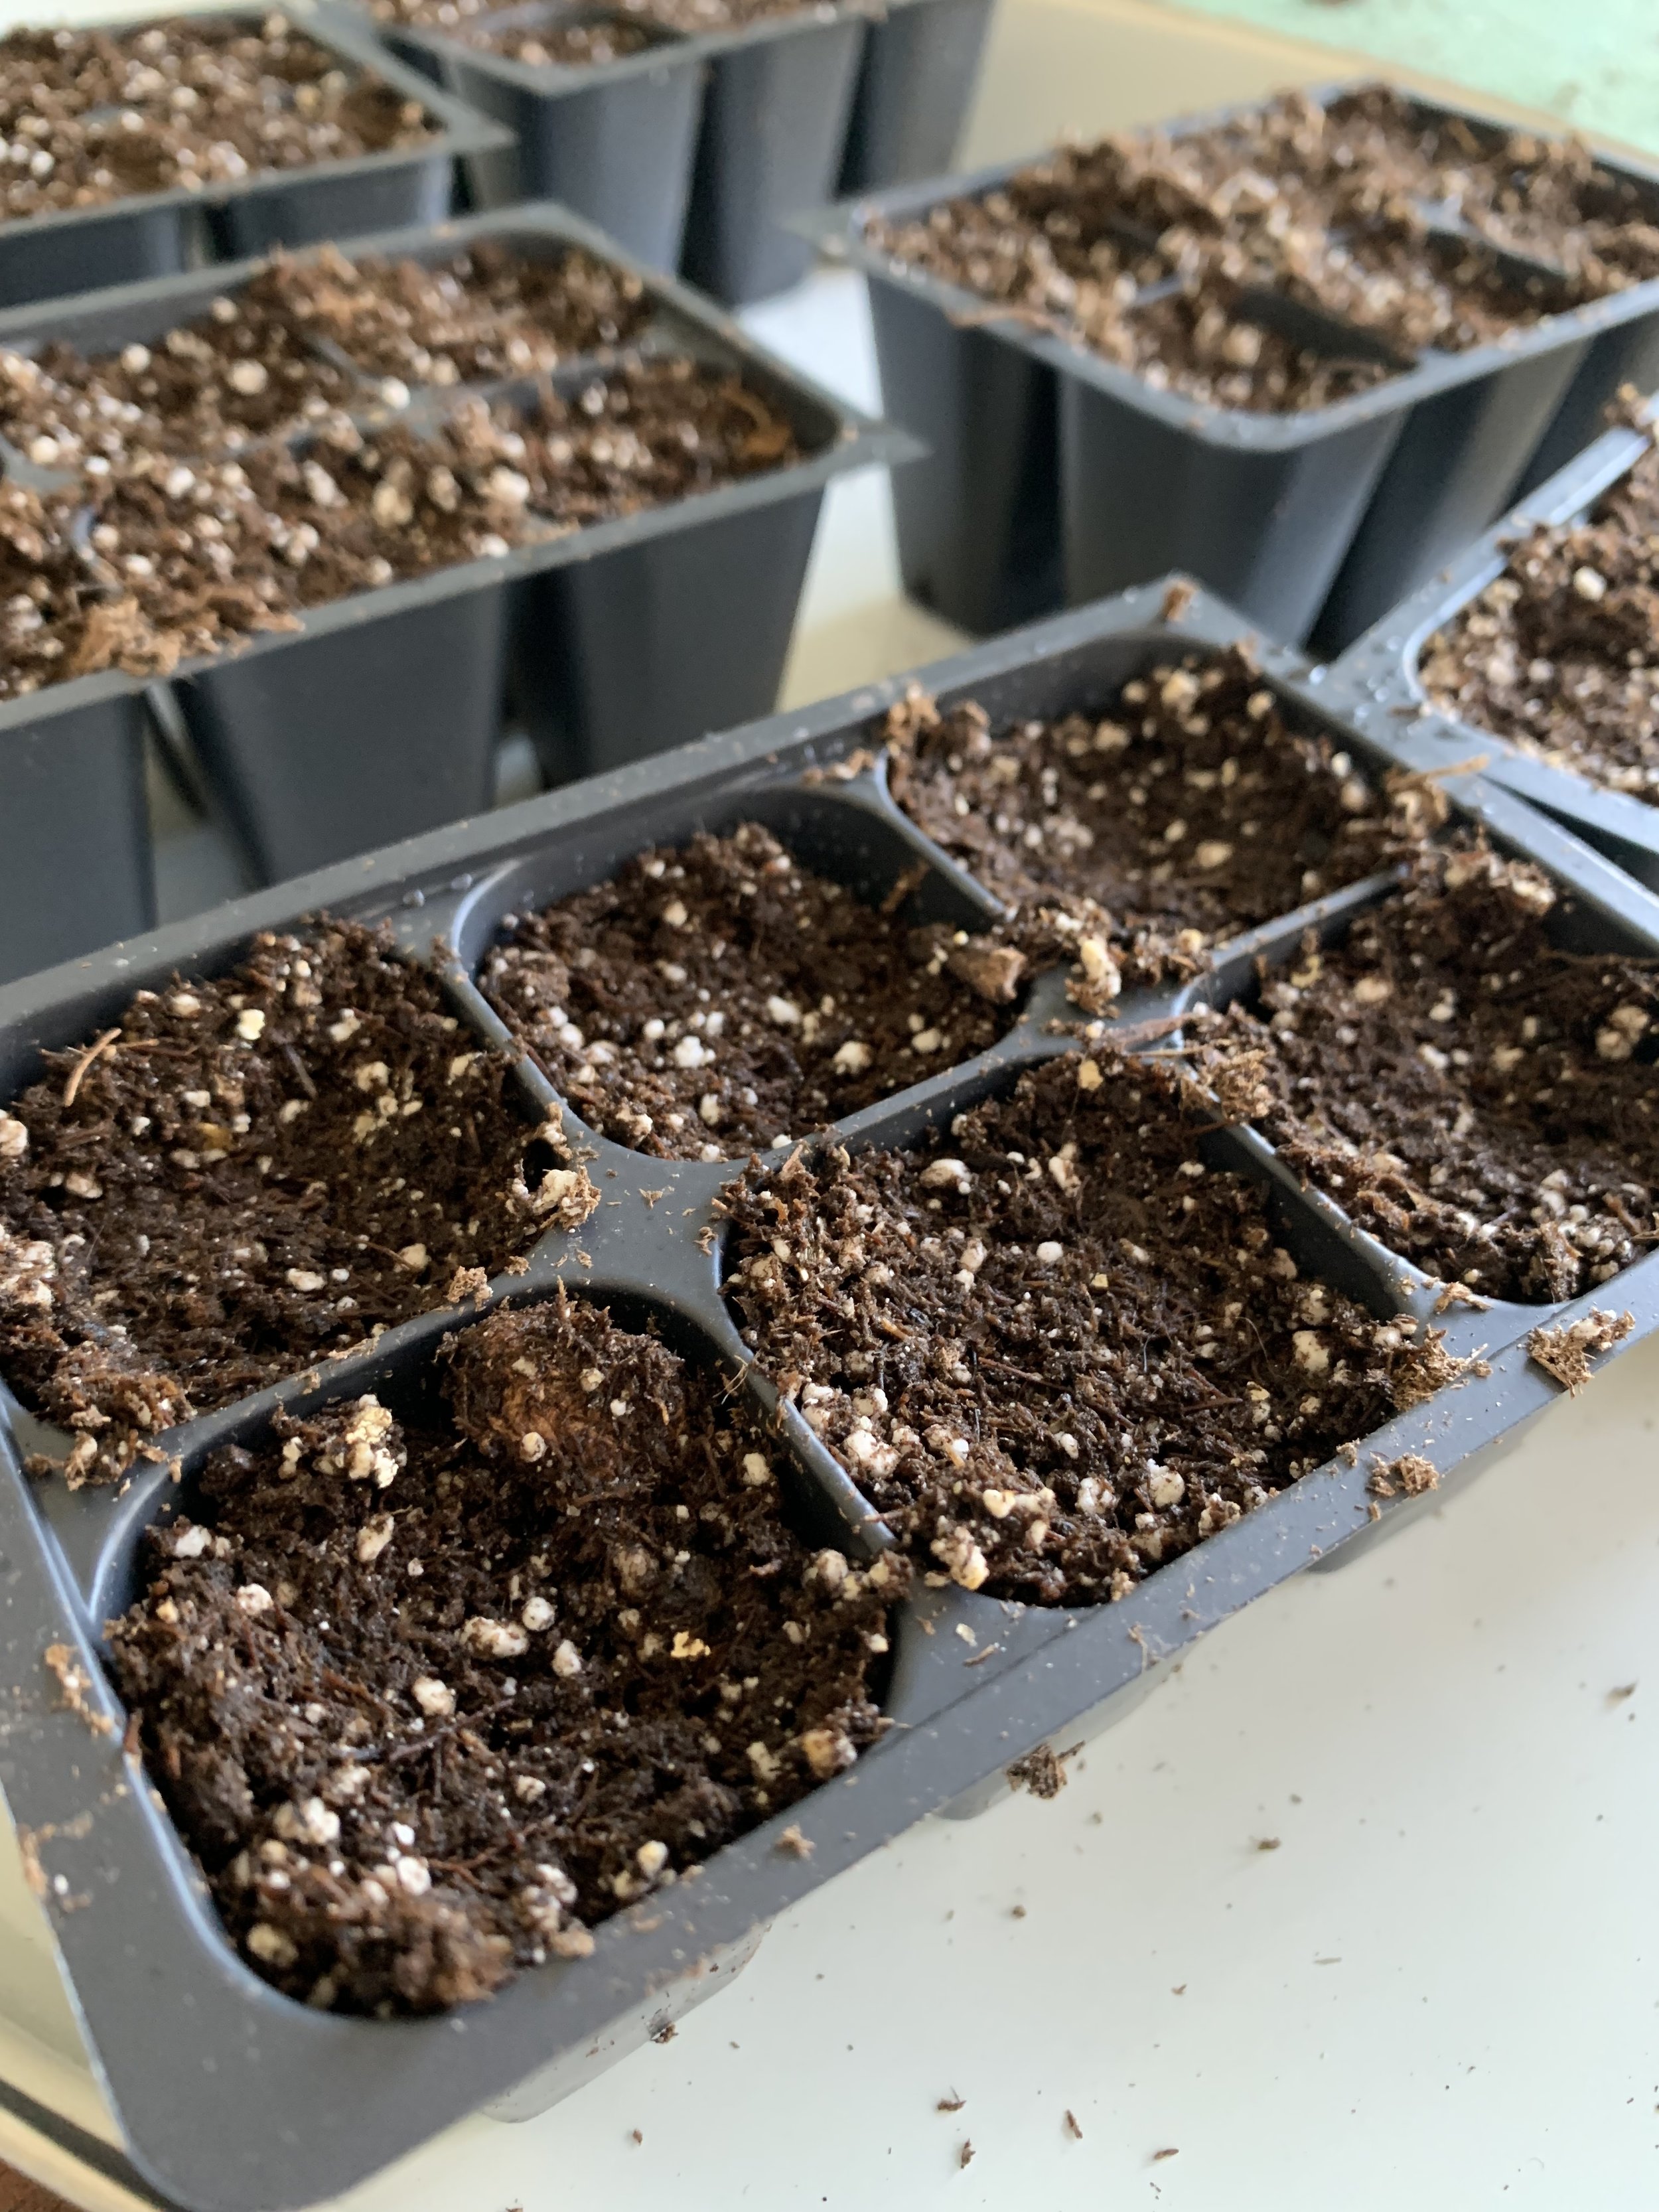
I started with Indigo. I soaked the seeds overnight, and the next day wrapped them in damp paper towels, because my seed flats got delayed. I was fairly surprised by how difficult it was to find empty seed flat trays—with the volume we were planting, we couldn’t source enough second-hand from local outdoor shops, and we also couldn’t find any new empty ones in any local stores, so I eventually sourced them online. I used 6 cell trays, with each cell measuring 1.5" square by 2.25" deep.
Then came the planting. With roughly 1000 indigo seeds, this process took a really long time. Like, a really long time. Almost 6 hours. We experimented with seed density (some with 2 seeds per cell, and some with 3 seeds per cell, as well as some that were more densely sown in troughs in larger pots) to see what the most efficient use of time/labor will be for year two. We used Promix soil, and planted the seeds in about 1/4 inch of soil. Since it’s a bit cold in this plaster 1840s house, we put a space heater in the room to add a bit of warmth. The room has two walls of windows, so there’s plenty of hours of sunlight each day. Sunlight seems, to me, to be the most important aspect for the germinating seeds at this point, and what they’re most sensitive to. I was told not to worry too much about the plants getting leggy, since they won’t be in this state for a terribly long time.
We planted the seeds on Thursday, March 14, and by Tuesday, March 19, we had our very first, very tiny, sprouts start to pop up. A few more pop up periodically, and they are changing drastically throughout the day at this stage. It feels sort of like having kids, but a lot less expensive. They aren’t quite big enough for photographing yet, but I’ll share photos of the sprouts soon. I’m expecting to spend at least 2 more weeks with them in this stage, before beginning to plant them.
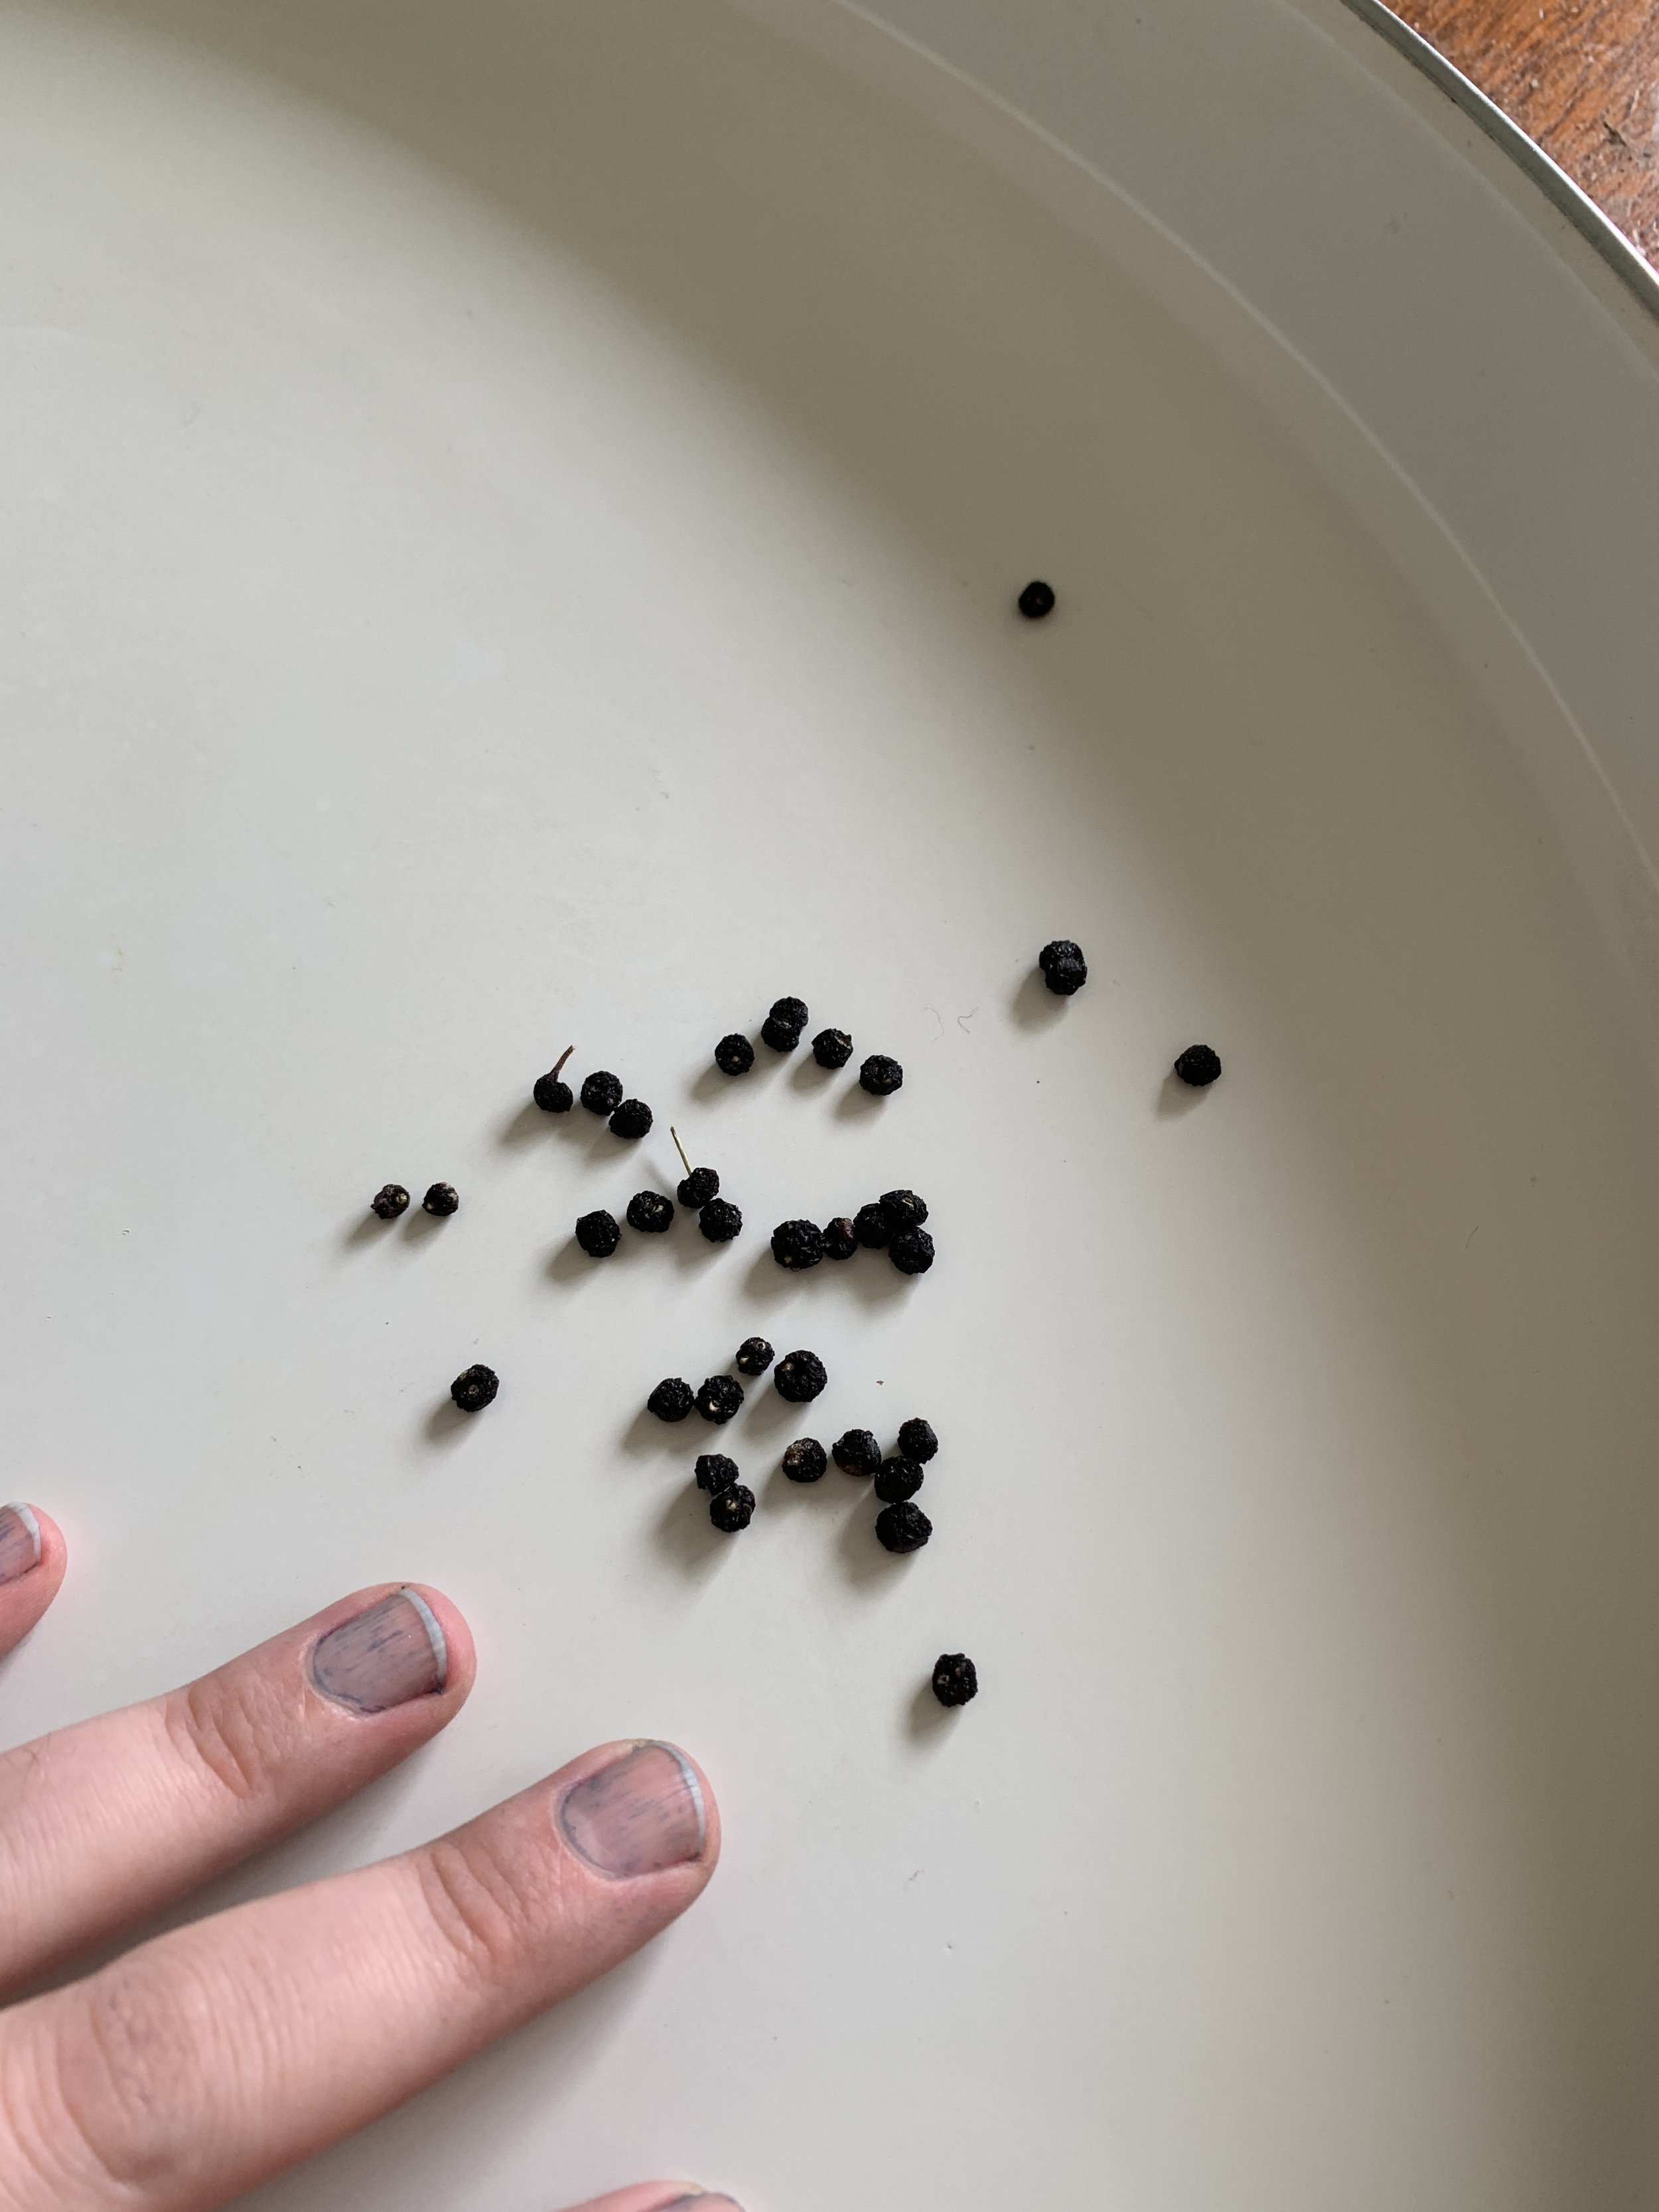
I also started some Madder seeds on Tuesday, 3/19. This will be my ultimate test in patience, as we won’t be able to harvest them until at least fall of 2020, when the roots have gotten thick enough to use for dyeing beautiful reds. I had around 35 madder seeds. I ran the seeds lightly over some sandpaper to scarify them before soaking them overnight, and then buried in 1/2 inch deep soil, which I’ve kept very moist. These seeds can take 1-2 weeks to open up, so no updates on these just yet.
I’ll have part two of this series in a few weeks, when things are ready for planting in the ground. I’ll share my layout plan for my indigo plants, madder plants, as well as all of the other flowering varieties as well. Stay tuned, and please let me know if you have any questions at all.
—
Aaron


